OfficeClip Backup and Restore
This section describes how you can take a backup of the OfficeClip database and documents and to recover from catastrophic failure.
Backup
Steps for taking a backup:
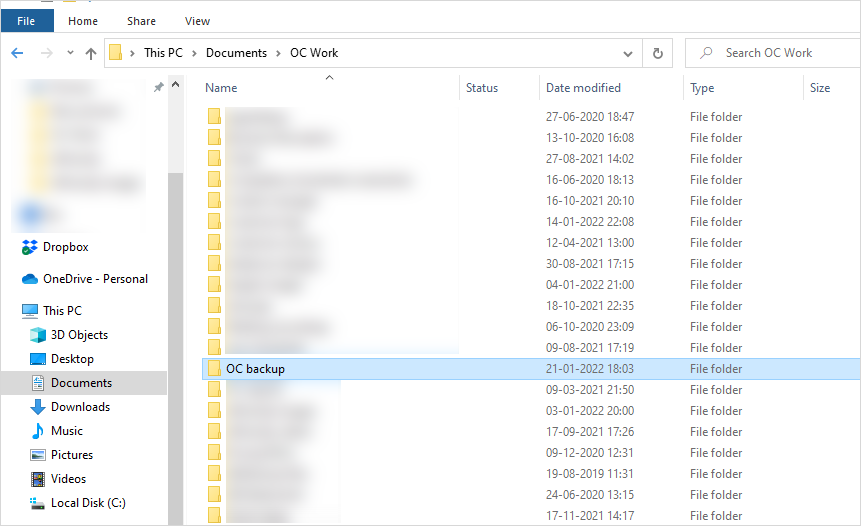
In your File Explorer, create a folder to store the backup.
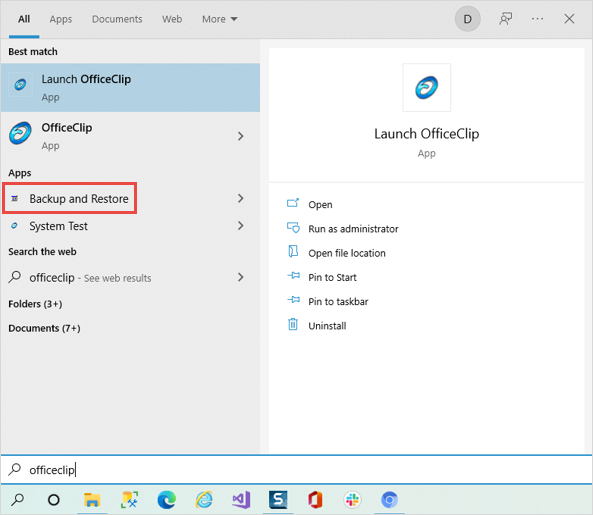
Go to the Start menu and search OfficeClip. In the location where you find OfficeClip, you will also see the Backup and Restore option. Click on it.
From the backup and restore wizard. Click on the Next button.

On the next screen, select the Backup option and click on Next button.

Checkmark the Backup OfficeClip Database option and click on Next.
Tip:You may also select to backup the configuration and the OfficeClip documents that are uploaded.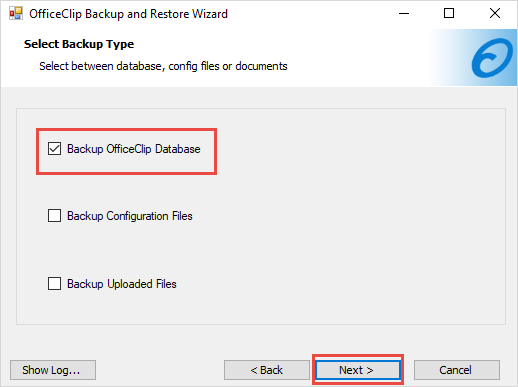
Select the location where you have created the new folder to take a backup by clicking on the Browse button. Once you choose the location, click Finish.
Tip:You may also want to create a scheduled backup by clicking on the Manage Schedule button.
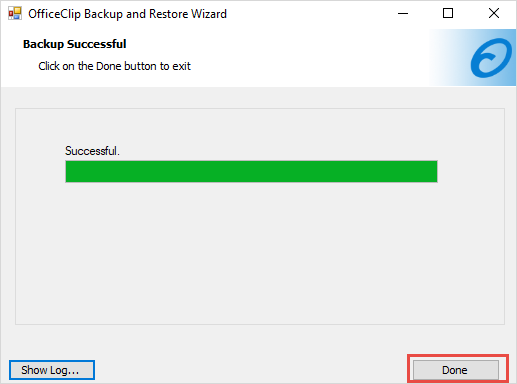
After the successful processing, click Done.
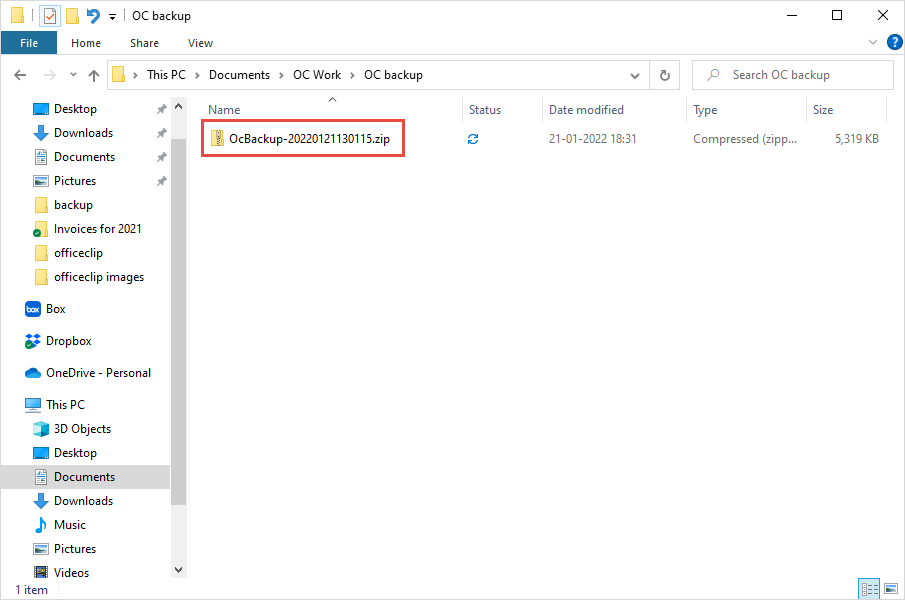
Verify the backup file is indeed created in the correct location.
This file can be saved to your backup drive and be used to restore OfficeClip database in the future.
Restore
In case of catastrophic failure you can restore the OfficeClip database from the backup. Here are the steps:
Search OfficeClip in the
Startmenu. In the location where you find OfficeClip, you will also see the Backup and Restore option. Click on it.
You will get to the backup and restore wizard. Click on the Next button.

Select the Restore option and click Next.

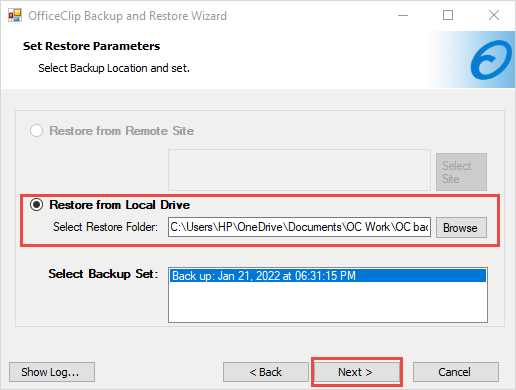
Select the location of the zip file you have created while taking a backup by clicking on the Browse button and selecting which backup you want to restore. Click Next.
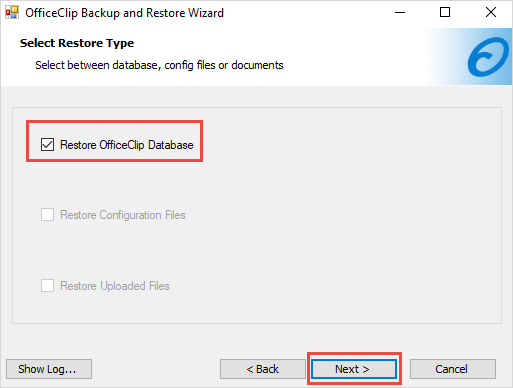
Checkmark the Restore OfficeClip Database option and click Next.
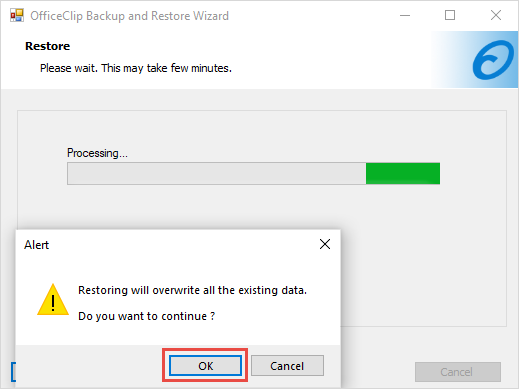
In the next screen, while processing the data, you will be asked whether to overwrite existing data. Click OK. When the processing is complete, click on the Done button.
To check if the data is restored correctly, login to the OfficeClip and verify your information.
